|
1. Choose the diameter of the welding wire.
2. Choose a kind of welding wire, solid wire
or flux-cored wire.
3. Turn on the power distribution disk
switch.
4. Turn on the welding power source (The
self-insurance circuit is OFF).
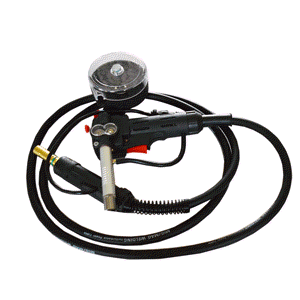
5. Turn on the valve of the CO2 bank and adjust
the pressure to 2-3Kg/cm²,
adjust the flow by the ‘check’ step of the gas switch.
6. Feed the wire to the tip of the torch
manually and install the tip correspondent to the diameter of
the wire.
7. Confirm the extension elongation of the
wire.
8. Put the trolley at the beginning of the
welding and adjust the left and right extension of the guide
bar. The extension of the front side guide bar is a little
shorter than that of the back side guide bar (along the welding
direction.)
9. Put the torch in the torch clamping
fixture and adjust the working and moving angle.
10. Adjust the X-Y gliding block to the
torch position and the distance between the workpiece and the
nozzle. There will be flaws (blow holes and pits) due to the
excessive distance between the workpiece and nozzle, and the
operator can adjust it.
11. Conduct initiative adjustment of the
processing parameters (current and voltage).
12. Set the continuous welding time or
discontinuous welding time, the stop distance and runoff time.
13. Confirm the flow of the CO2 and the weld
puddle protection effect.
14. Start the welding process, observe the
arc and adjust the speed of welding and other welding parameters
until they are suitable.
15. Press the stop button after finishing the
welding process or put an obstacle at the end of the workpiece
in order to trigger the inductive stop switch of the trolley.
|